Fresh paint and new flooring can make a home feel completely renewed. The fine gray film left behind is another story. To remove renovation dust safely, treat it as more than a housekeeping inconvenience. Construction dust can settle inside cabinets, circulate through your air-conditioning system, cling to fabrics, and irritate eyes and airways long after the contractor has packed up.
A careful cleanup protects the finish work you just paid for, as well as the people and pets who live in the home. The right approach is controlled, methodical, and patient – especially in South Florida, where humidity can cause fine dust to stick to walls, windows, and hard surfaces.
Know When Renovation Dust Needs Extra Care
Not all dust carries the same risk. A small cosmetic project involving new paint, shelving, or trim may leave behind drywall dust, wood particles, and ordinary debris. Even then, fine particles should not be swept into the air or pushed through the home with a regular vacuum.
Older properties and larger demolition projects deserve more caution. If work disturbed materials that may contain lead-based paint, asbestos, mold, or silica-containing concrete, tile, mortar, or stone, pause before cleaning. These materials require specific containment and removal practices. Do not assume a household mask and vacuum are enough. Ask the contractor what materials were disturbed, and contact a qualified remediation professional when there is any doubt.
For a typical completed renovation, wait until cutting, sanding, drilling, and debris removal are fully finished before starting the detailed clean. Cleaning while active work continues often means doing the same job twice and increasing the amount of dust that travels into clean areas.
Gather the Right Tools Before You Start
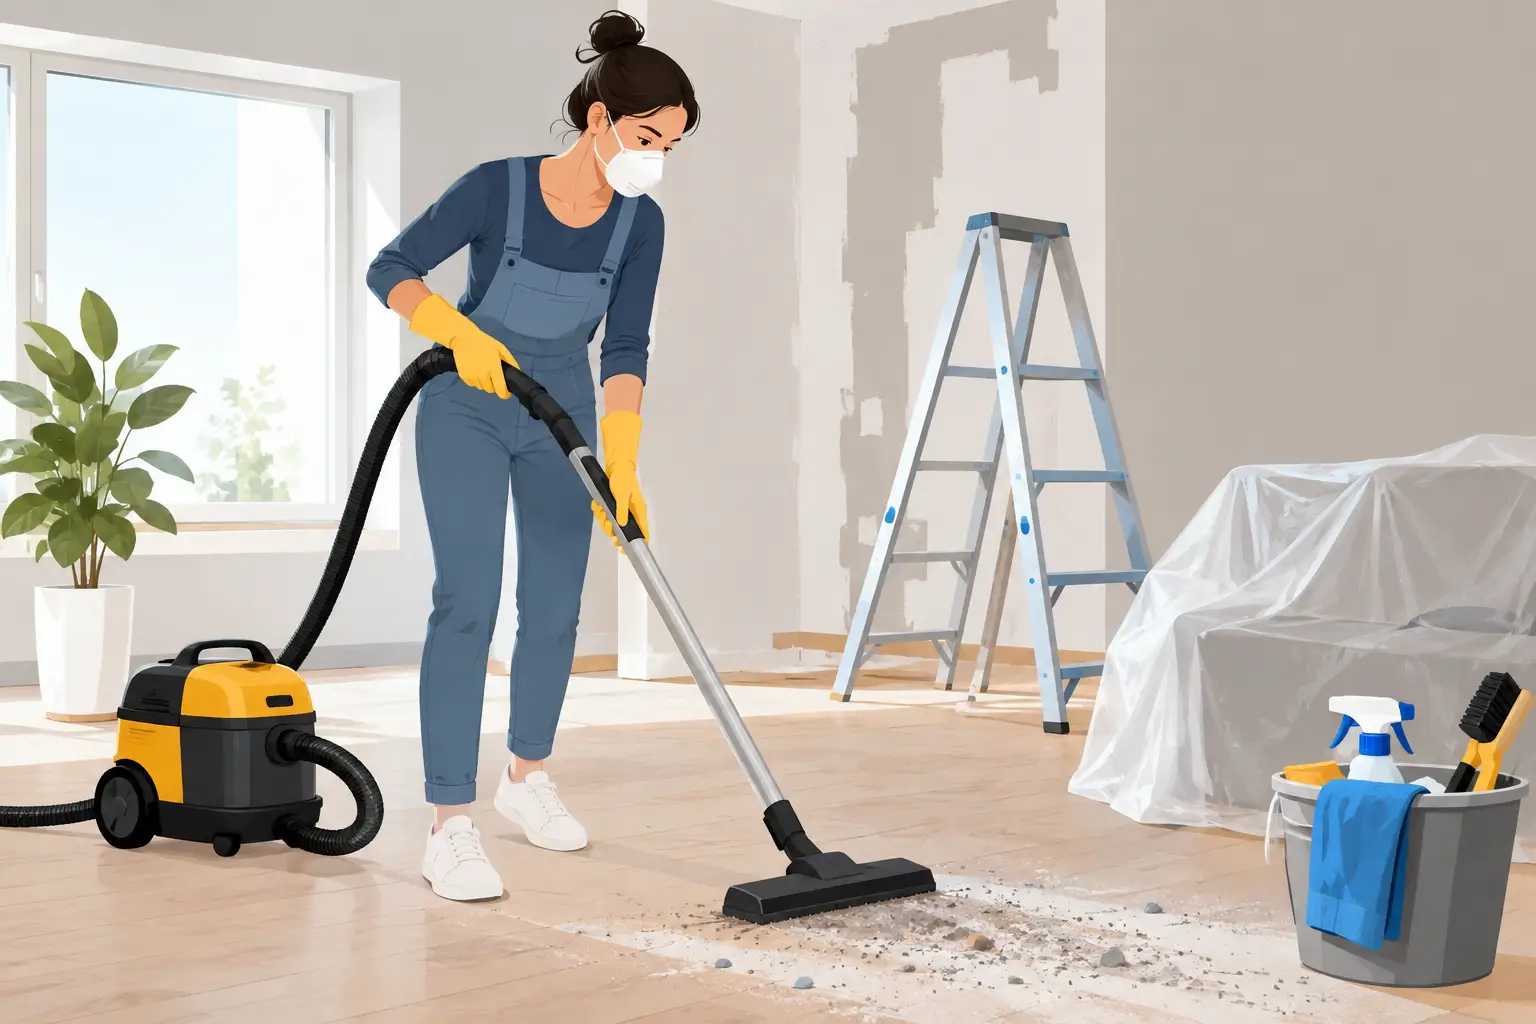
The goal is to capture dust, not redistribute it. A vacuum with a sealed HEPA filtration system is the most useful tool for fine particles. A standard vacuum may exhaust very small dust particles back into the room, even when it appears to pick up visible debris.
Use microfiber cloths and flat microfiber mops, along with a bucket of clean water and a mild, surface-appropriate cleaner. Keep several clean cloths on hand. Once a cloth is visibly loaded with dust, replace or rinse it rather than wiping that material across the next surface.
Wear gloves, closed-toe shoes, and a well-fitting N95 respirator while working around significant amounts of dust. Eye protection is sensible when cleaning overhead vents, ceiling fans, blinds, or upper cabinet tops. Keep children, pets, and anyone with asthma or respiratory sensitivities out of the work area until the cleanup is complete.
Avoid dry brooms, feather dusters, and compressed air. They may make a room look better for a moment, but they send fine particles back into the air where they can settle again hours later.
How to Remove Renovation Dust Safely, Step by Step
The order of cleaning makes a major difference. Work from the highest surfaces down and from the least-used space toward the exit. That way, dust does not land on areas you have already finished.
Start with ventilation and containment
If the weather allows, open windows in the room being cleaned and create gentle airflow outward. Do not run fans that blow dust around the room. Keep interior doors to unaffected rooms closed, and place a clean towel or temporary barrier at the bottom of door openings if dust is still concentrated in one area.
Before turning the central air back on, inspect the return vents near the renovation zone. Running an HVAC system too early can spread dust through the home. Replace the HVAC filter after the heavy cleaning is done, and consider having ducts professionally evaluated if substantial construction dust entered the system.
Vacuum dry dust from high to low
Use the HEPA vacuum with appropriate attachments to clean ceiling edges, light fixtures, ceiling fans, vents, crown molding, window tracks, baseboards, cabinet interiors, and shelving. Move slowly. Fast passes can stir up particles rather than collect them.
Then vacuum walls carefully if they have been sanded nearby or show visible dust. Use a soft brush attachment and light pressure to protect fresh paint. For textured walls or delicate finishes, test a small, out-of-sight area first.
Continue to countertops, appliances, furniture, floors, and upholstered pieces. Vacuum upholstery with an appropriate attachment before using any fabric cleaner. Do not forget under furniture, inside closets, and behind appliances where dust commonly settles unnoticed.
Wipe every hard surface with clean microfiber
Once loose dust has been vacuumed, damp-wipe hard surfaces with a microfiber cloth. The cloth should be slightly damp, not dripping. Excess water can damage unfinished wood, seep into cabinet joints, or leave streaks on fresh paint and glass.
Change the water frequently. Gray water is a clear sign that you are no longer cleaning effectively. For painted walls, use plain water or a mild cleaner recommended for the paint finish. For natural stone, quartz, stainless steel, and new flooring, follow the manufacturer’s care guidance. Strong degreasers, abrasive powders, and acidic products can dull or damage newly installed materials.
Cabinets need particular attention. Dust often settles inside drawers, on shelf supports, along hinges, and on the top edges of doors. Clean interiors before putting dishes, food, linens, or toiletries back in place.
Finish with floors, then clean again
Vacuum hard floors thoroughly with a HEPA vacuum or a vacuum approved for that floor type. Follow with a damp microfiber mop, using minimal moisture on wood and laminate. Tile and vinyl can usually tolerate more moisture, but grout lines and corners still need a close look.
Carpet may require multiple slow vacuum passes in different directions. If the project created heavy drywall or concrete dust, professional carpet cleaning may be worthwhile after vacuuming. Fine particles can settle deep into carpet fibers and reappear as foot traffic shifts them upward.
After the floors dry, inspect the room in daylight or with a flashlight held at an angle. This simple check reveals the haze left on baseboards, countertops, window sills, and flooring. A second light wipe is normal after renovation cleaning, not a sign that you did anything wrong.
Do Not Forget the Places Dust Travels
Renovation dust rarely remains where the work happened. It follows shoes, tools, air movement, and open doors. Check nearby rooms, hallways, entryways, laundry areas, and garages. Wash reusable drop cloths and launder bedding, curtains, and removable cushion covers if they were exposed.
Wipe electronics gently with a dry or barely damp microfiber cloth, following the manufacturer’s recommendations. Dust inside keyboards, television vents, and computer equipment should be handled carefully, since moisture and aggressive vacuuming can cause damage.
Kitchen and bathroom exhaust fans, air returns, and vent covers also deserve attention. Remove visible surface dust from the covers, but avoid reaching into ducts with household tools. If the system appears heavily contaminated, professional HVAC cleaning is the safer choice.
When Professional Post-Construction Cleaning Makes Sense
A detailed post-construction clean can be physically demanding and surprisingly time-consuming. It may be the right call to bring in trained cleaners when the project involved several rooms, demolition, sanding, new cabinets, flooring installation, or a tight move-in deadline.
Professional help is especially useful when you need more than a basic wipe-down. A thorough service can address high and low surfaces, appliance exteriors and interiors, cabinet details, windows, fixtures, patios, and the fine dust that settles after the first pass. For homeowners, renters, and property managers in Broward and Palm Beach County, Go Cleaning Maids can tailor a post-construction scope to the condition of the property and the areas that need the most attention.
Before booking any cleaner, be clear about what remains on site. Sharp debris, exposed wiring, wet paint, active leaks, and hazardous materials should be resolved by the contractor first. A clean home begins with a safe, finished work area.
When the final cloth comes away clean and the air no longer carries that chalky smell, give the space a day of normal use before deciding the job is fully done. One last look at filters, vents, and high-touch surfaces helps your renovated home feel ready for the people who matter most.