A renovation can look finished long before the space feels ready to use. Fine drywall dust settles inside cabinets, paint specks cling to glass, and scraps left behind can turn a beautiful upgrade into a safety concern. Knowing how to remove construction debris in the right order protects your new finishes and helps your home or commercial space feel truly complete.
For South Florida homeowners, property managers, and contractors, the goal is not simply to make the site look tidy. It is to clear bulky waste safely, control harmful dust, and finish with the detailed cleaning needed before furniture, tenants, guests, or family members move back in.
Start by Separating Debris From Post-Construction Cleaning
Construction debris removal and post-construction cleaning work together, but they are not the same service. Debris removal focuses on physical materials left from the project: lumber, drywall pieces, tile, packaging, old fixtures, broken materials, and discarded supplies. Post-construction cleaning addresses the dust, residue, smudges, and detail work that remain after the larger items are gone.
This distinction matters when you are scheduling help. A cleaning crew can make floors, counters, fixtures, and glass shine, but large piles of demolition material or contractor waste may require a dumpster, hauling service, or the contractor’s removal plan. Confirm responsibilities before the final walk-through so no one arrives expecting the other party to handle it.
If you are managing a larger renovation, ask the contractor where waste will be staged, when it will be removed, and whether disposal fees are included in the project agreement. That simple conversation prevents a last-minute pileup in the garage, driveway, or hallway.
How to Remove Construction Debris Without Creating New Damage
The safest approach is methodical. Rushing to sweep or drag materials outside can scratch new flooring, spread dust through the HVAC system, or leave sharp objects where someone can step on them.
Clear large materials first
Begin with the largest items, such as wood offcuts, broken drywall, cardboard, plastic wrap, and empty boxes. Keep a clear path from the work area to the exit, and avoid dragging materials across newly installed tile, hardwood, vinyl, or countertops. Use a dolly, protective floor covering, or heavy-duty bins when the load is substantial.
Separate reusable materials from true waste as you go. Unopened supplies, intact lumber, hardware, and leftover tile may be useful for touch-ups or future repairs. Keep these items labeled and stored only after they are clean and dry.
Handle sharp, heavy, and hazardous items separately
Construction sites often contain nails, screws, staples, razor blades, broken glass, and sharp metal. Wear closed-toe shoes, durable gloves, and eye protection while collecting them. Sweep small sharp pieces into a sturdy container rather than a thin trash bag that can tear.
Paint, solvents, adhesives, aerosol cans, batteries, fluorescent bulbs, and certain older building materials need special handling. Do not pour chemicals down drains or mix them into ordinary household trash. Follow local disposal requirements, and when you are unsure what a material is, treat it cautiously until a qualified professional or disposal facility can advise you.
For homes built before modern building standards, potential asbestos-containing materials, lead paint, or mold-damaged debris call for trained remediation professionals. Cleaning around a questionable material is not a safe substitute for proper assessment and containment.
Keep dust from traveling through the property
Fine construction dust is usually the most stubborn part of the job. It moves easily from one room to another, settles again after cleaning, and can irritate eyes and airways. Close off the renovation zone where possible, remove protective plastic carefully, and avoid dry sweeping dusty surfaces.
A HEPA-filter vacuum is far more effective than a standard household vacuum for fine particles. Vacuum from high surfaces down to the floor, including window tracks, baseboards, vents, cabinet interiors, and ledges. After vacuuming, use lightly damp microfiber cloths to lift remaining dust without pushing it back into the air.
It may take more than one pass. In a major kitchen, bathroom, or whole-home renovation, dust can continue settling for a day or two after the first cleaning. That is normal, especially if contractors are still completing punch-list work.
Protect the Surfaces You Just Paid For
New finishes deserve a careful touch. The right cleaner for one material can dull, etch, stain, or scratch another. Before using any product, check the manufacturer’s care guidance for stone, luxury vinyl, natural wood, stainless steel, glass, and specialty fixtures.
Avoid abrasive pads on glass, polished metal, stone, and glossy appliances. Never use a razor blade casually on new windows or cooktops, since grit trapped beneath the blade can leave permanent scratches. For paint splatter, adhesive residue, or grout haze, test any removal method in an inconspicuous spot first.
Natural stone is one area where the trade-off is especially important. Strong acidic products may cut through some residues quickly, but they can damage marble, travertine, limestone, and certain grout. A slower, surface-appropriate method is the better choice when protecting an expensive installation.
Plan Disposal Before the Final Clean
A few bags of packaging may fit in your regular trash collection, depending on local rules. A bathroom remodel, roof repair, flooring project, or full renovation is different. Those jobs often require a dedicated dumpster or professional hauling because debris volume, weight, and material type can exceed what normal collection will accept.
Do not overload containers or leave loose debris exposed outdoors. In South Florida, wind and rain can scatter lightweight material, soak drywall, and create a mess that is harder to manage. Keep waste contained, cover it when appropriate, and maintain access for workers and vehicles.
If the project is at a condo, rental, office, or retail space, check building and property rules early. Many communities have designated disposal areas, approved collection windows, elevator protection requirements, or restrictions on dumpsters and renovation hours. Following those guidelines helps avoid delays and keeps common areas safe for neighbors, staff, and guests.
When Professional Post-Construction Cleaning Makes Sense
Once bulky debris is removed, detailed cleaning is what turns a work zone into a livable space. This is especially valuable after renovations involving drywall, cabinetry, tile, painting, or flooring, where dust and residue reach places that are easy to miss.
Professional post-construction cleaning can include detailed dust removal from surfaces and fixtures, vacuuming and mopping floors, cleaning cabinets and drawers, wiping doors and baseboards, polishing accessible glass, and removing everyday smudges from appliances and hardware. The exact scope should match the condition of the property and the work that was completed.
For a recently renovated home, a staged approach often works best. A rough clean after major construction clears the site for final work. A detailed final clean happens after contractors are finished. If the home has sat vacant or additional work continues, a touch-up clean before move-in can provide extra peace of mind.
At Go Cleaning Maids, post-construction service is tailored to the space rather than treated as a one-size-fits-all checklist. That matters when a small bathroom refresh needs focused detail work while a larger renovation requires room-by-room attention. Eco-friendly, pet-safe products can also be a reassuring choice when your family is ready to return home.
A Final Walk-Through That Catches What Debris Removal Misses
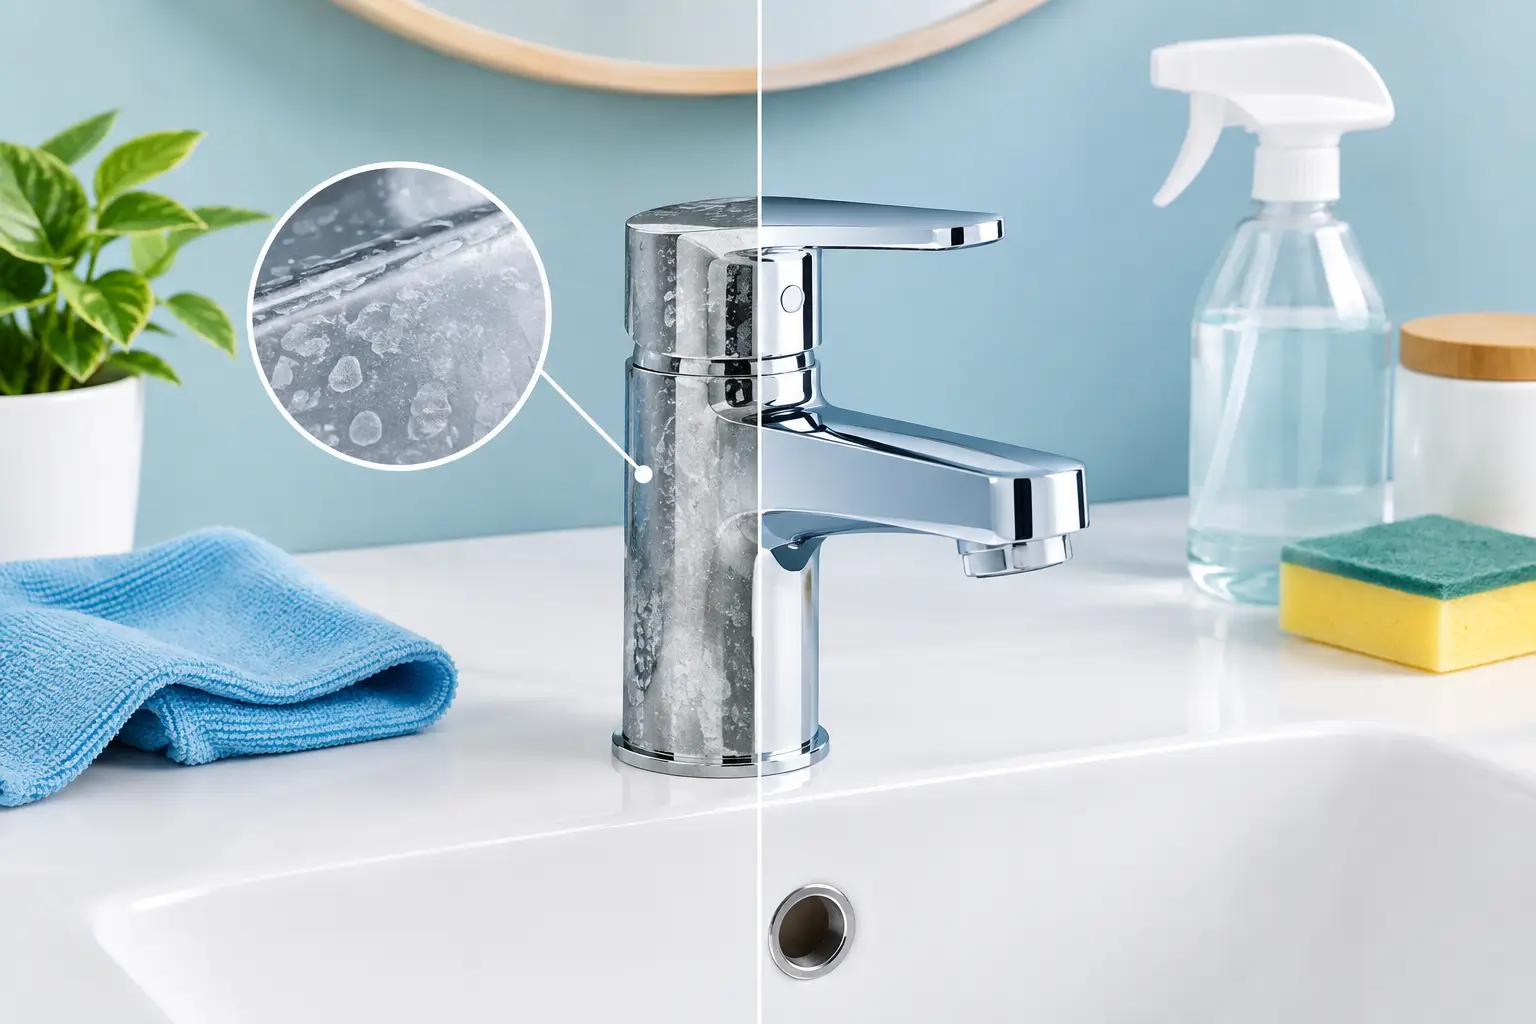
Before bringing in furniture or handing over keys, walk through the space in daylight if possible. Open cabinets and drawers, look along baseboards, inspect window tracks, and check corners behind doors. Turn on faucets, lights, and appliances to see fingerprints, dust, labels, or leftover protective film that may not be visible at first glance.
Pay attention to air vents and return grilles as well. If the renovation produced heavy dust, consider having the HVAC system inspected or its filters replaced according to the equipment manufacturer’s recommendations. A clean room can quickly feel dusty again if the system circulates particles left from the project.
The last box hauled away is not always the last task. Give your new space the care it deserves, and let the final cleaning be the moment it changes from a construction site into a place you are happy to come home to.